

Share data with WALLIX
To make migration successful, collected data must be sent to WALLIX.
Files to be shared with WALLIX
Data
NOTE
Backup archive concerns only the Bastion, not the Access Manager.
Secrets
Create a file named
backupkey.txtthat contains the encryption key used in this step to secure the Bastion backupCreate a file named
passphrase.txtthat contains the on-premise Bastion's passphrase. The file must be created even if no passphrase is set - it will remain empty in that case.Create an archive named
secrets.zipcontaining the filesbackupkey.txtandpassphrase.txt. This archive must be encrypted using AES256 algorithmBelow is an example of a ZIP archive encrypted with AES-256, created in a Linux environment.
IMPORTANT
Use both options
-t7zand-pin order to encrypt archive with AES256 algorithm.bash# Setup first variables BASTION_PASSPHRASE, BASTION_BACKUP_KEY and CUSTOMER_SECRET_KEY echo "${BASTION_PASSPHRASE}" > passphrase.txt # To be created even if no passhrase set on Bastion echo "${BASTION_BACKUP_KEY}" > backupkey.txt 7z a -t7z -p"${CUSTOMER_SECRET_KEY}" secrets.zip passphrase.txt backupkey.txtNext, follow the steps below to upload the backup, session recording, and
secrets.ziparchives for WALLIX cloud operators
Install Azure Storage Explorer
On a machine (Linux, Windows or MacOS) with online access, download and install Azure Storage Explorer Client.
Configure Azure Storage Explorer
In Edit > Settings > Transfers, verify the option Put MD5 is enabled.

Connect to WALLIX One PAM storage
In Azure Storage, click on the connect button.
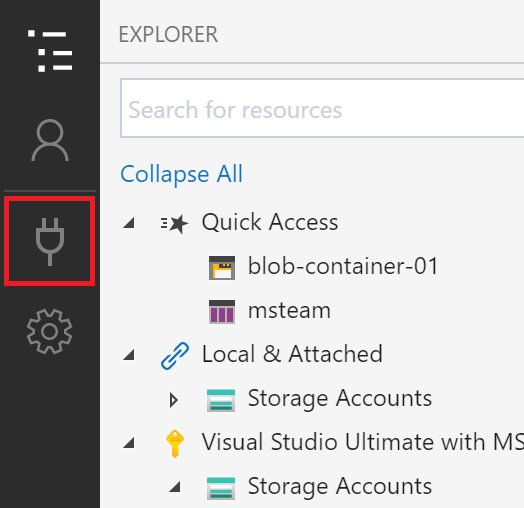
Select Blob container or directory.
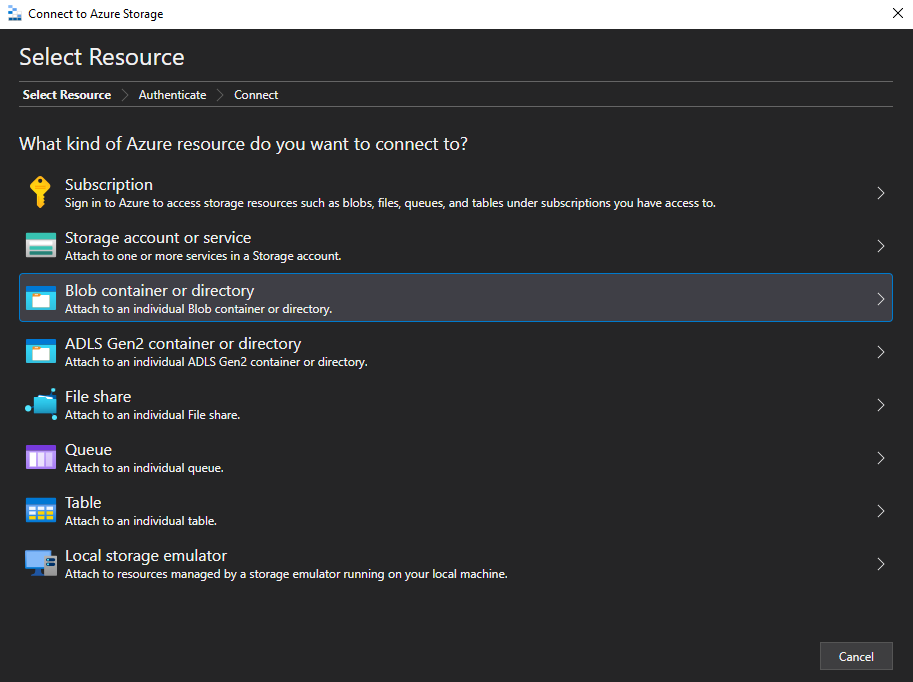
Select the connection method Shared access signature URL (SAS) and click Next.

Fill field Blob container or directory SAS URL with the URL provided by WALLIX and click Next.
NOTE
Display name field is auto-filled by Azure Storage Explorer when the URL is provided.

Validate summary by clicking on Connect.

Upload files
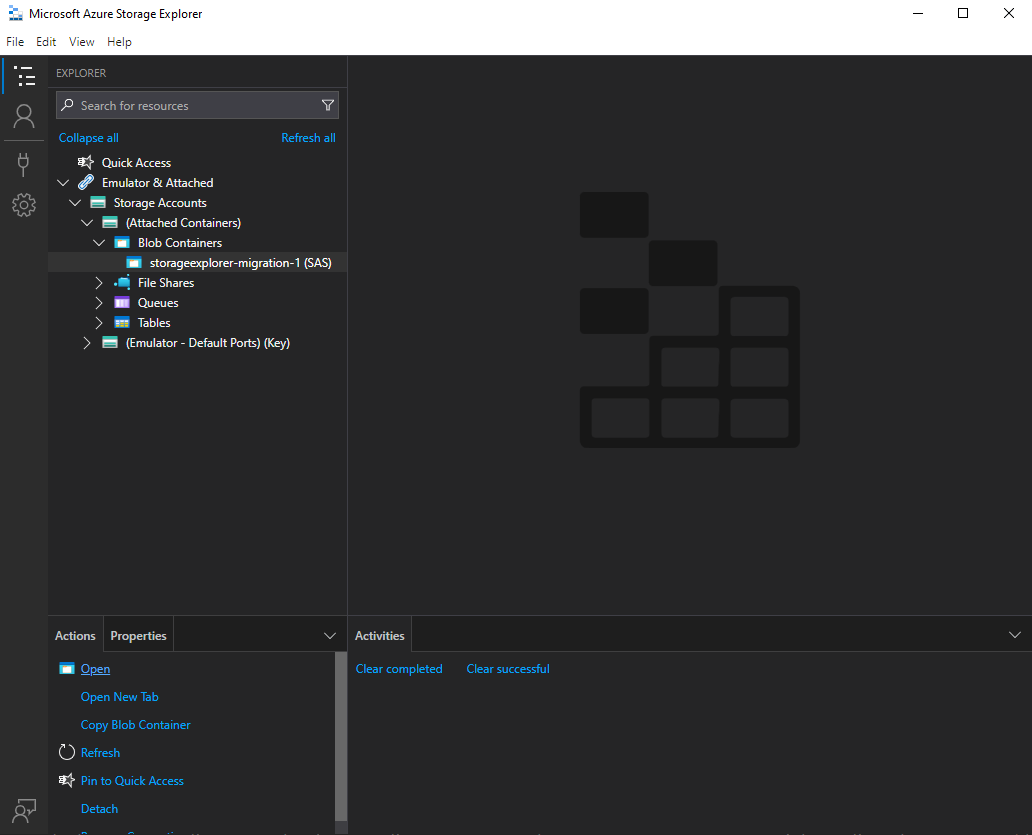
Once connected, open the blob container available in the explorer.
IMPORTANT
To enforce security, only whitelisted IP can access the container
Data can be uploaded using the Upload button > Upload File.... Only select files in the window, do not change other default parameters.
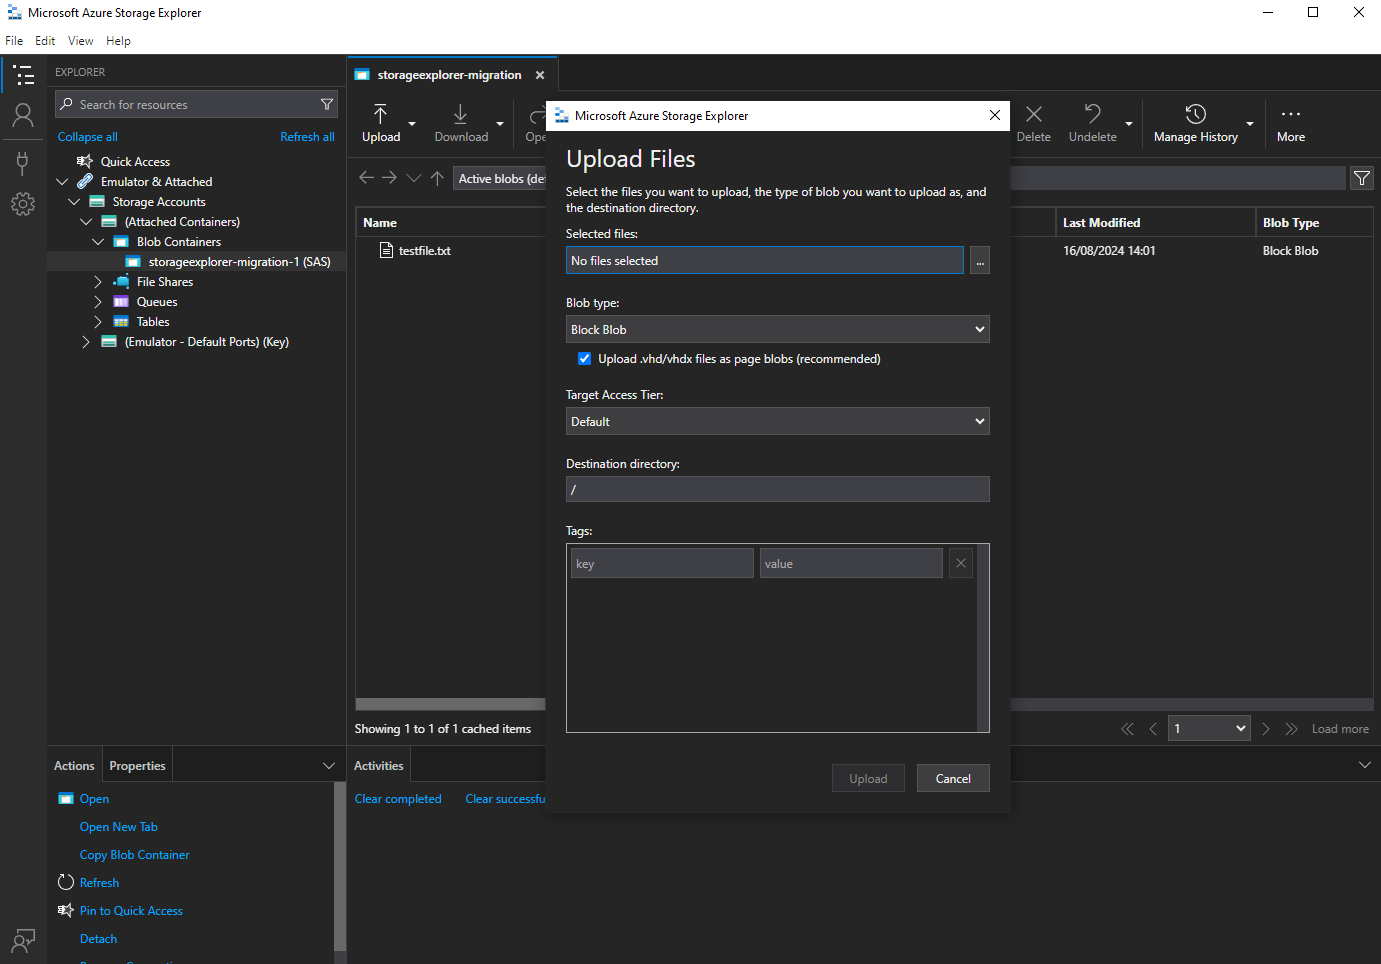
NOTE
Files can only be listed or uploaded. File can be overwritten providing new version of the file with the same name.